
A Neat Little Gift For My Lovely Customers
I started to think that my customers would like to receive a nifty little freebie with their purchases (I always love freebies) but was having trouble figuring out what would be easy, cost effective, and cute!
Finally! While musing with my sister we came up with the idea for a coin purse or small lip gloss case. Something easy that you could use your scraps on. And it had to be small! Women ~♥LOVE♥~ things in miniature ;)......(I'll have to come up with something different for my male customers).
So, I know I'm not the first person to come up with the idea of a envelope pouch but I do fancy myself very clever for coming up with the size and design with my good friend Amber (love u, I always appreciate the ideas and support the ladies in my life offer.) This seemed like a good design and size for coins, lip gloss, or even cash to quickly stash in your purse if you didn't want to bring your whole wallet. It's big enough to fit an id and some credit cards. Who wouldn't enjoy this free gift? I felt it was such a neat idea and so easy to execute that I would share the tutorial with you lovely fans!

Envelope Pouch Tutorial
1. First your going to need scraps in varying color and size. Feel free to pair crazy patterns together for a fun look!

2.After you have chosen your outer fabric and your liner your need to measure and cut your pieces. For my pouch I cut them at 9"x5". Feel free to make yours larger or even smaller. When figuring out the size you want you could take a piece of scrap and fold it by three, two folds being the pocket, and one fold being the flap. This should give you an idea of the shape and size.


3. Now you need to create your flap. First, find the center of the top width of your fabric, mine being the edge measuring 5". So my center is 2.5" in, mark. I chose to measure the flap at 2" deep after folding my piece in three a couple times and coming up with a good look and feel for the size. Mark your fabric and then use your ruler to draw diagonal lines from your center mark to your side marks. Cut along the lines. The top of your pieces should now look like triangles :) *Note* you may also round your top flap if you prefer rounded edges as apposed to straight :)


4. Now you are going to pin your pieces right sides together. Use a 1/4 inch seam and start sewing about halfway down the side. Sew all the way around the edge leave a gap to pull your material right side out.


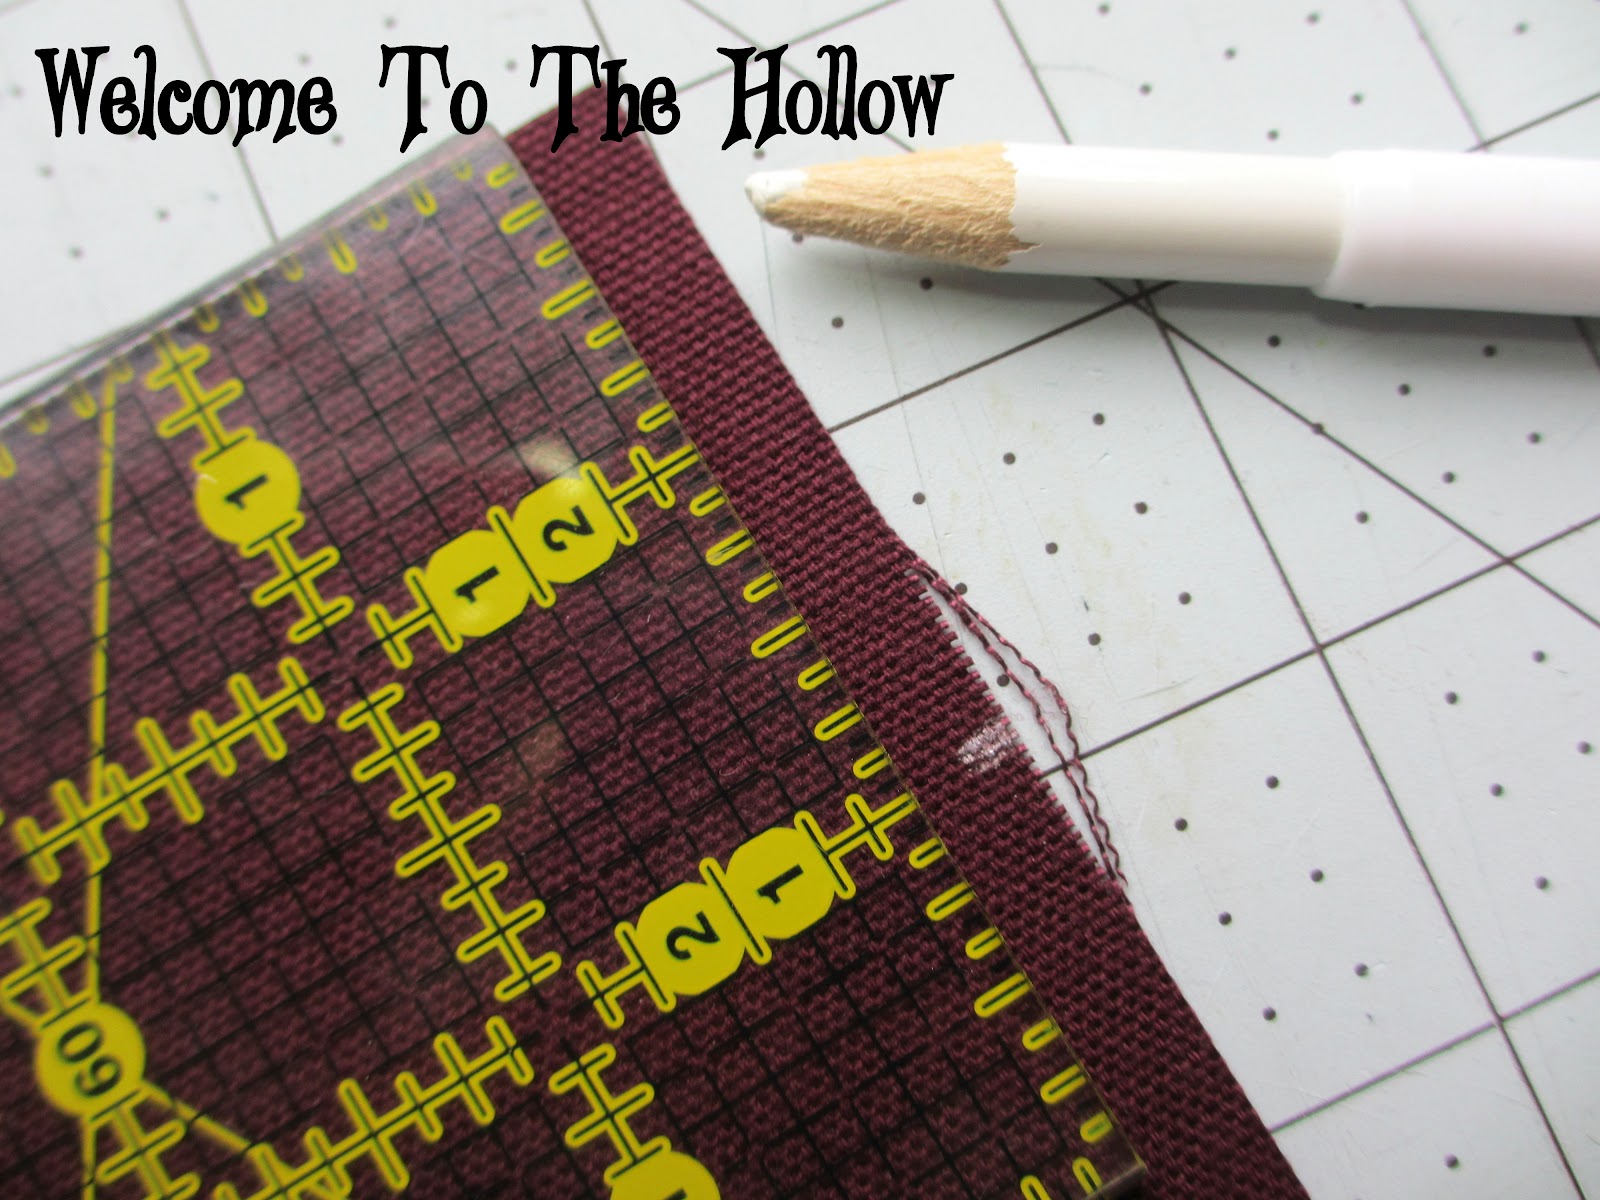
5. Now you need to clip all your corner and cut triangles into any round edges and then press your seam allowance up. Pull your your project right side out through the gap you left on the side and press. Don't worry about sewing the gap up, it will be sewn closed in the next step.


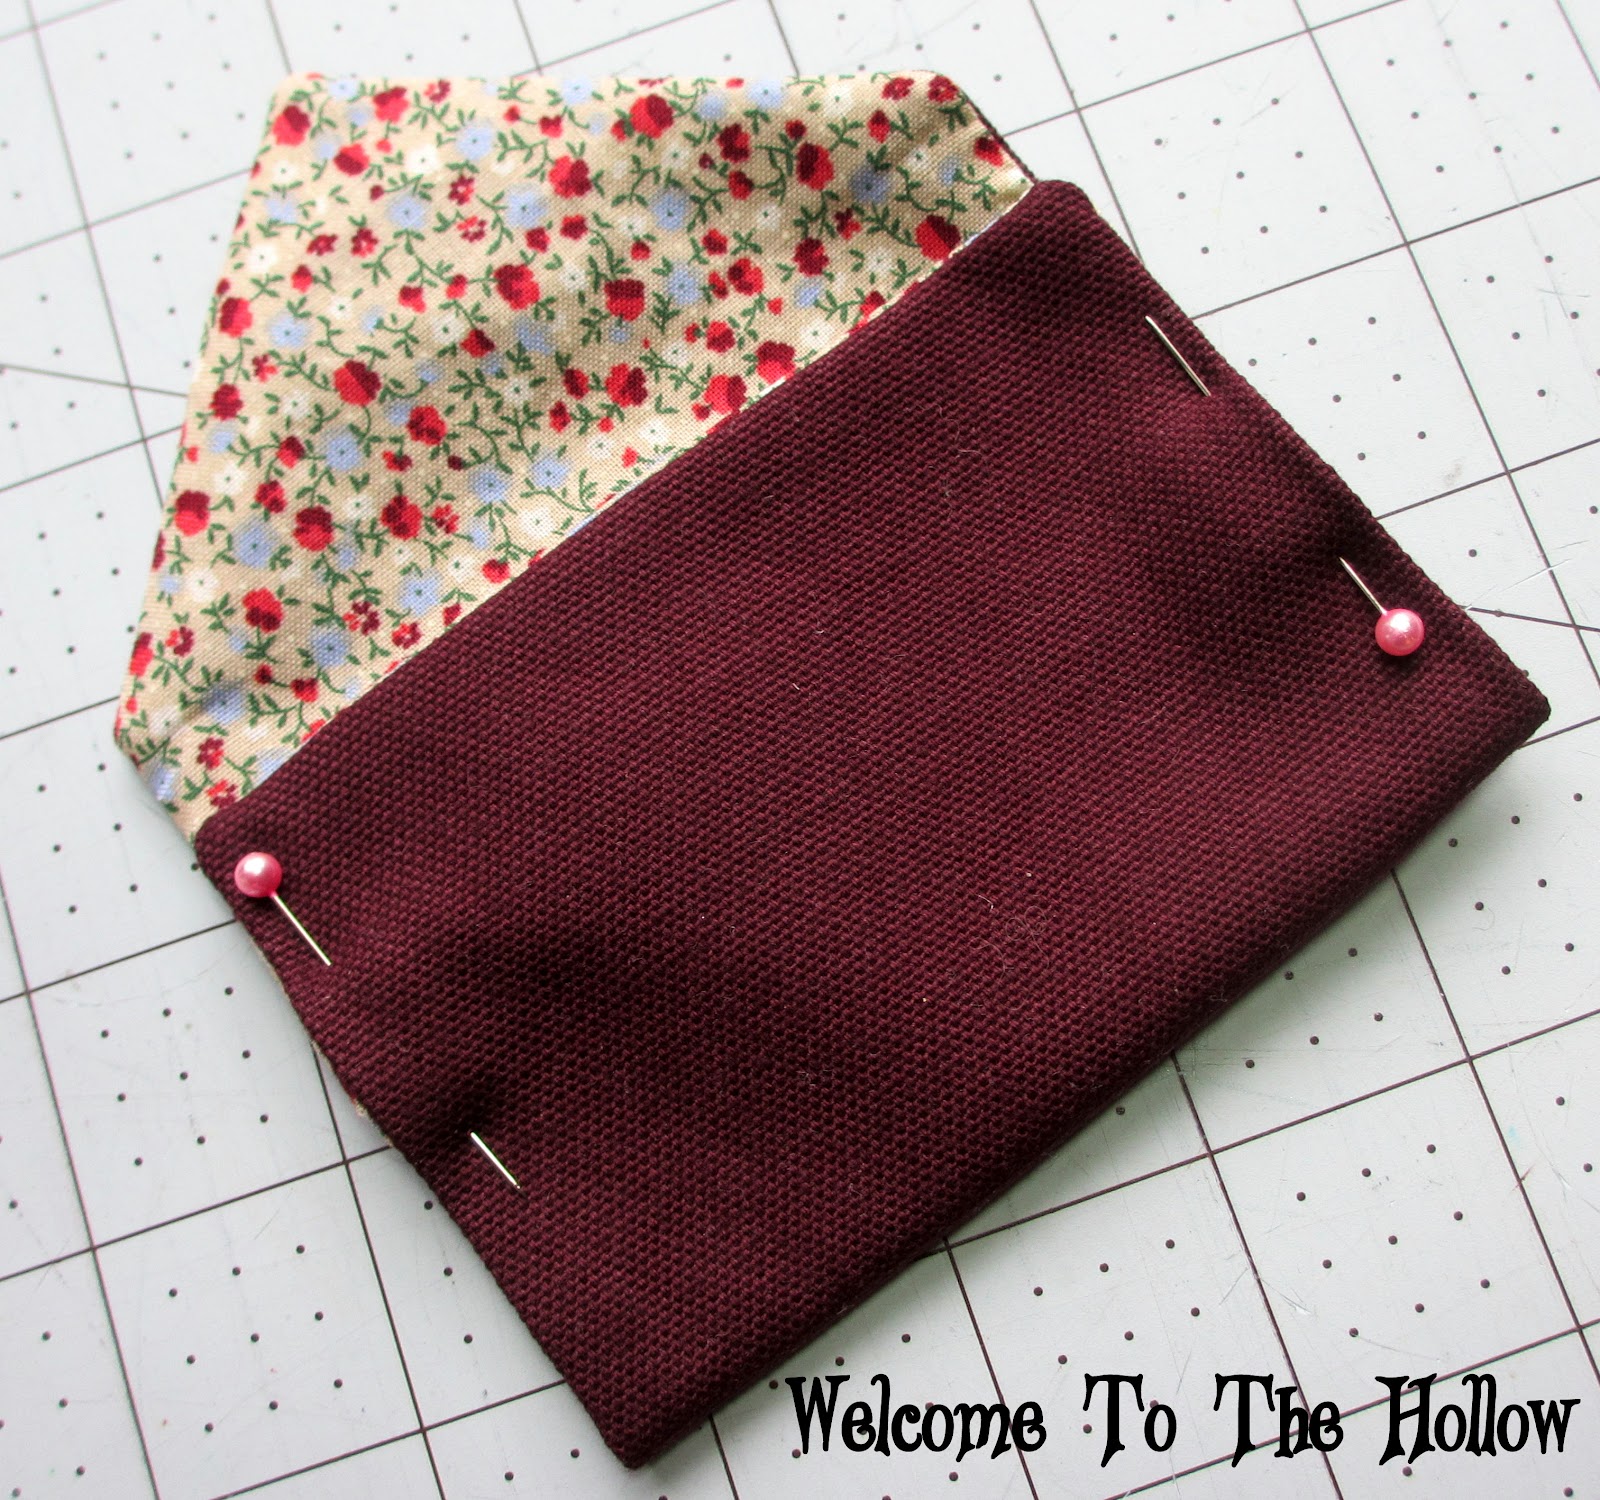
6. Now you need to fold your bottom half up and your flap down, making an envelope, and press. Pin your sides.
7.Sewing as close to the edge as possible sew up your bottom fold on the outside edge and around your flap and back down over your fold along the edge on the other side. back stitch a few times on each side where your fold ends to reinforce the pocket. Press.


8. The final and funnest part! Use your button hole attachment to sew a buttonhole, If you don't know how to do this check out my Button Hole Tutorial. Figure out where you want the hole to go, preferably in the center of the flap, mark your width and sew your hole.
9.Next mark your button placement and hand sew a pretty button on.


~Viola~
You just made an envelope pouch!
Any comments on my tutorial and its ease of use are very welcome! Did I explain things well? Did I confuse you? Were the pictures useful? Please! let me know!
Happy Sewing
♥♥♥
greaat ,simple and easy to understand ...thanks for your talent and time !! Jolene
ReplyDelete