I recently picked up some brocade to make some fabulous makeup brush rolls and had no idea how to work with the material so I looked up a few pointers and started right in ♥ The first roll I worked on was a snap seeing as how the brocade was slightly thicker and not too slippery but the second project did not go quite as smooth but turned out super pretty in the end. Brocade comes in many styles but I particularly love the double sided stuff that has a raised design on it like this teal and gold number here:
 |
Pretty ♥
Tutorial
So first your going to want to iron your material. Most brocade is delicate, so your going to want to put your iron setting on low (like permanent press), make sure you have lots of water in your iron and have the steam turned up. Also have a lightweight cotton fabric to lay over top so your not ironing the fabric directly. |
|
|
Brocade covered with cotton for ironing.
Next you want to even out your edges. Take your two salvage edges and fold together with right side in, lay on your cutting mat. Line everything up and then use your rotary cutter on any uneven edges. Go ahead and cut your desired pieces out, I just needed to cut out straight pieces so that part was super easy :)
|
 |
| Pieces are all cut out. |
After you have your pieces cut out you need to do something to stop your edges from fraying uncontrollably :p. I read that you can cut them with pinking sheers no pinking sheers, so then I read you can burn the edges unless they continue to smoke and curl mine did, so.....last idea sew a zigzag stitch all around the outside of your pieces, which is what I ended up doing. So set your machine up with a ball point fine needle, and lower your pressure foot quite a bit.
 |
| Set your machine's zigzag stitch...in hindsight I should have set mine a little smaller. |
 |
| Line up your edges :) |
 |
Viola!
|
After your done securing all your edges you are ready to begin your sewing project. Sewing this type of brocade like I said earlier is a little easier than some of the more silky kinds because it doesn't slip and slide all around while your cutting, sewing, pinning, etc.... so I didn't really miss the feed switch that is suggested for sewing brocade. The next project I did though was with the slippy slidey kind and I was definitely wishing for the feeder foot. I made do for the time being. I think, however I will be picking one up if I plan on working with brocade on a regular basis.
 |
| Sewing in the brush slots. |
 |
| See how my edges are not fraying all over the place :) |
 |
| Sewing the backside on. |
 |
| Turning the brush roll right side out. When turning brocade and duck cloth for that matter be gently because they both unravel very easily. |
 |
| Nice and straight. |
 |
A finished Makeup Brush Roll ♥
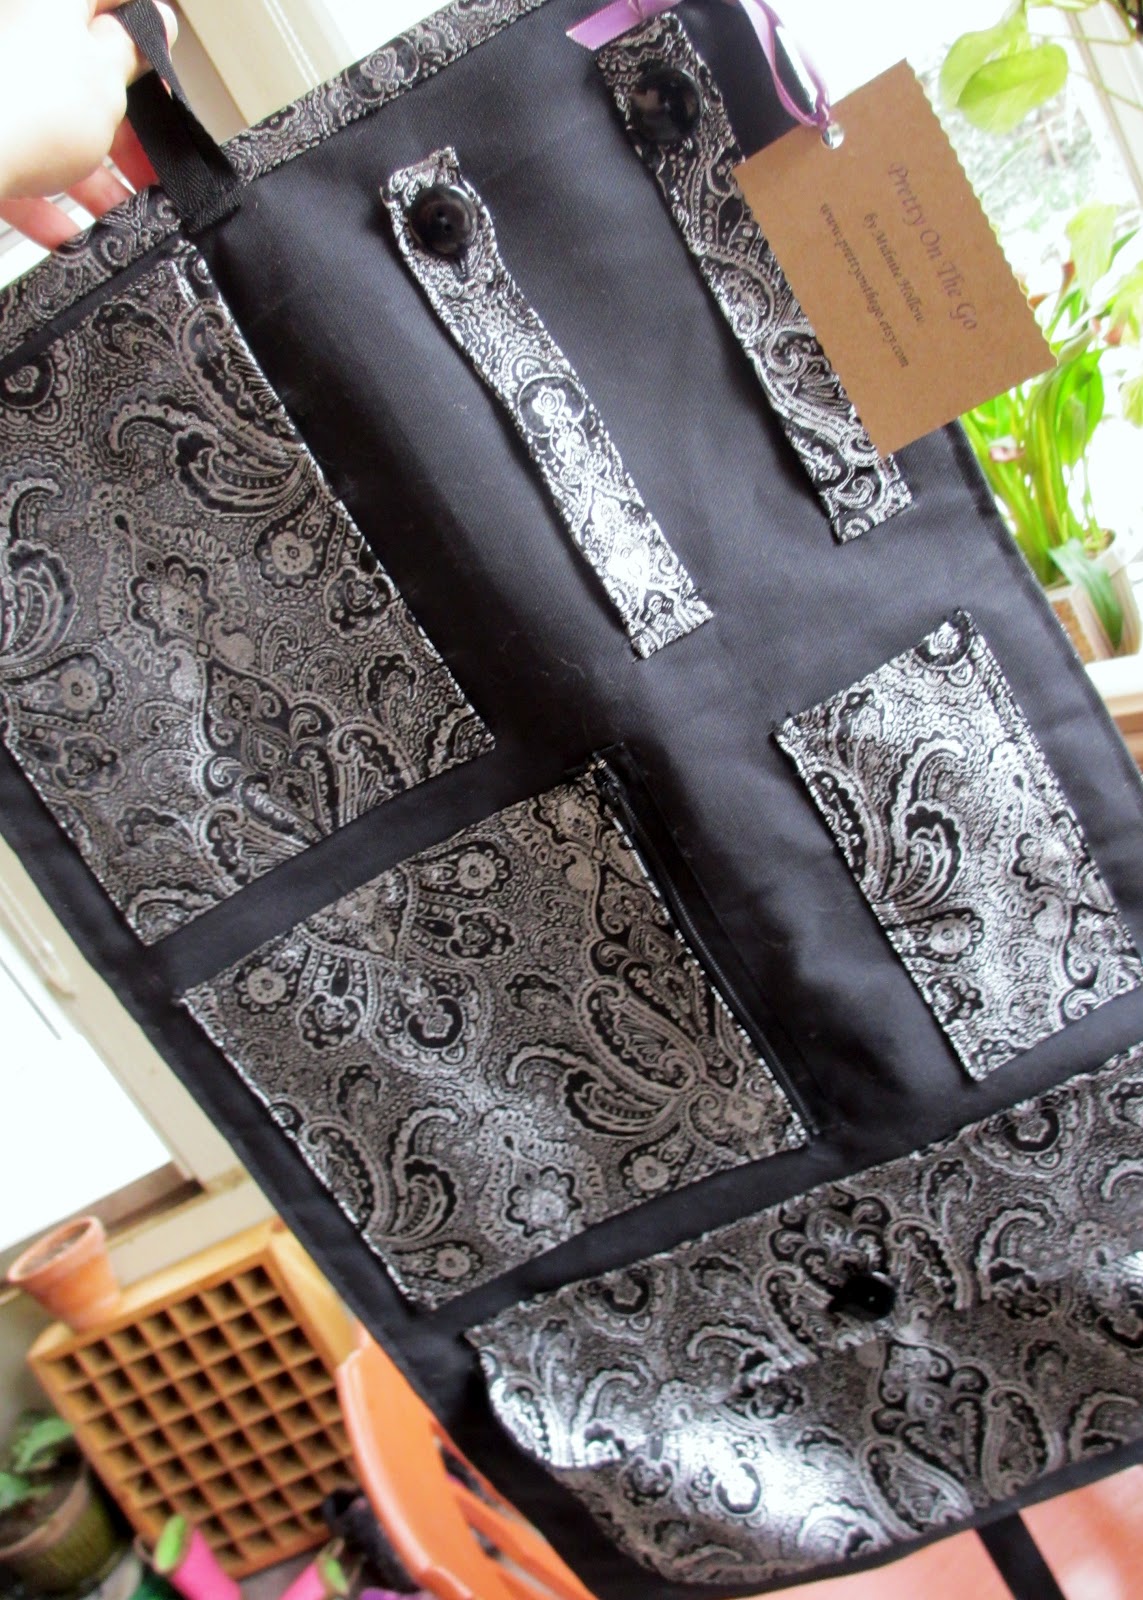
And here this is my next project done with a more silky brocade, I tried to cut a step out and not zigzag the edges and boy did I regret that! The end result was rather pretty anyways. |
 |
| Large Silver Brocade and Black Duck Cloth Beauty Fold Up Case *Sold* |
Happy Sewing ♥
Samantha
other sources:


No comments:
Post a Comment