A Gift for my Lovely Little Lady
We recently celebrated
my daughter's birthday and one of her gifts happened to be a lovely handmade Princess Gown from her Mommy....* applause*
The dress I put together looks very elegant but was in fact a very simple design. I practically put it together in an evening. I suppose it does help that the skirt was already in tack.
I used a vintage nightie for the skirt (sorry grammy) so that took a good amount of work out of the process.
I combined the nightie skirt with a dress tutorial purchased from
Etsy last summer.
Find this pattern along with other enchanting dress designs at
The original dress pattern does not have the over skirt so I designed my own :) I cut four half circles the width from middle front to middle back plus eight inches for gather. I am not very technical so as far as length I really just eyeball a lot of things but I suppose you could measure the desired length.
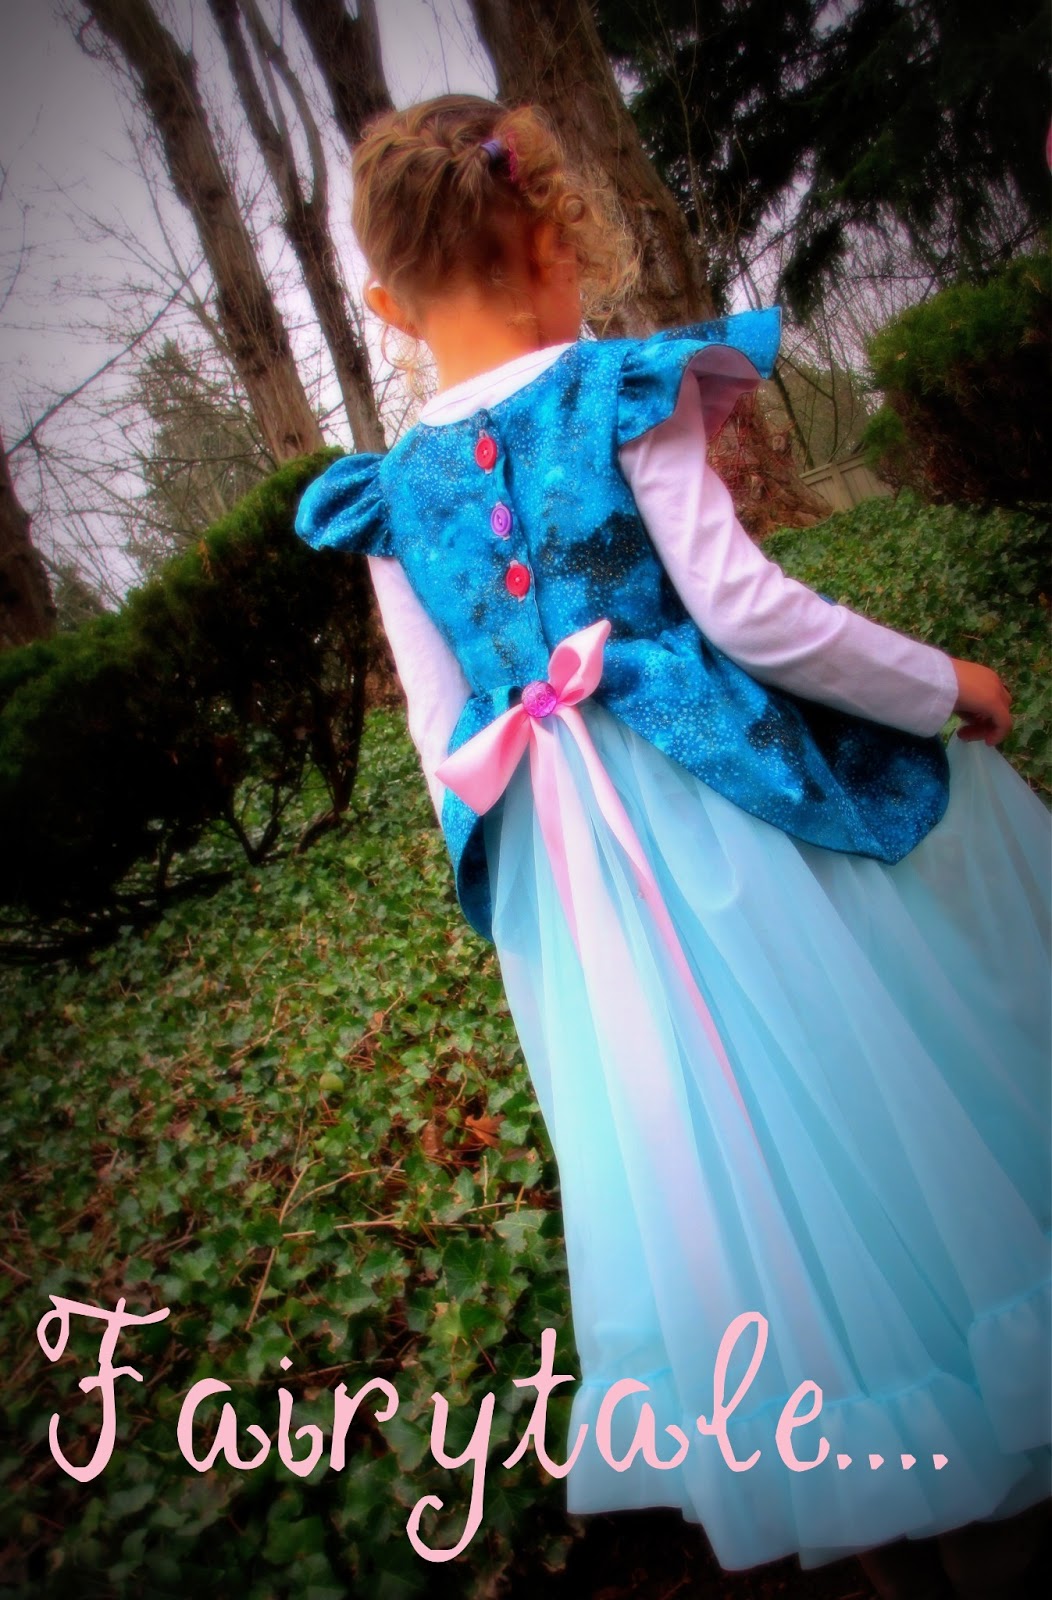
I gave the bodice a slight sweat heart neckline and added ribbon "boning".There is a ribbon rose adorning the front. The rose was really to hide the gap after sewing the overskirt and underskirt to the bodice. Just like the bows at the bottom were added to hide the fact that I accidentally sewed some of the skirt to low in the front :P
The purple buttons were a last minute thing....I had to add them at the request of little sister ♥
The back has a button closure and a ribbon bow to hide the gap :)
I think overall it was a great success. Yay! One for the Mommy team!
With a pretty up do she looks like the most enchanting princess ♥
Oh...She is such a natural.
I would like to let them live in a fairytale for as long as possible.
Little sister looking on with admiration...
And of course, when we got back inside my youngest needed to put on
her fairytale dress. Which is the original
Melody Dress Pattern.
The only problem I see, I might want to just make too many of these adorable dresses!!
Happy Sewing
♥
Samantha